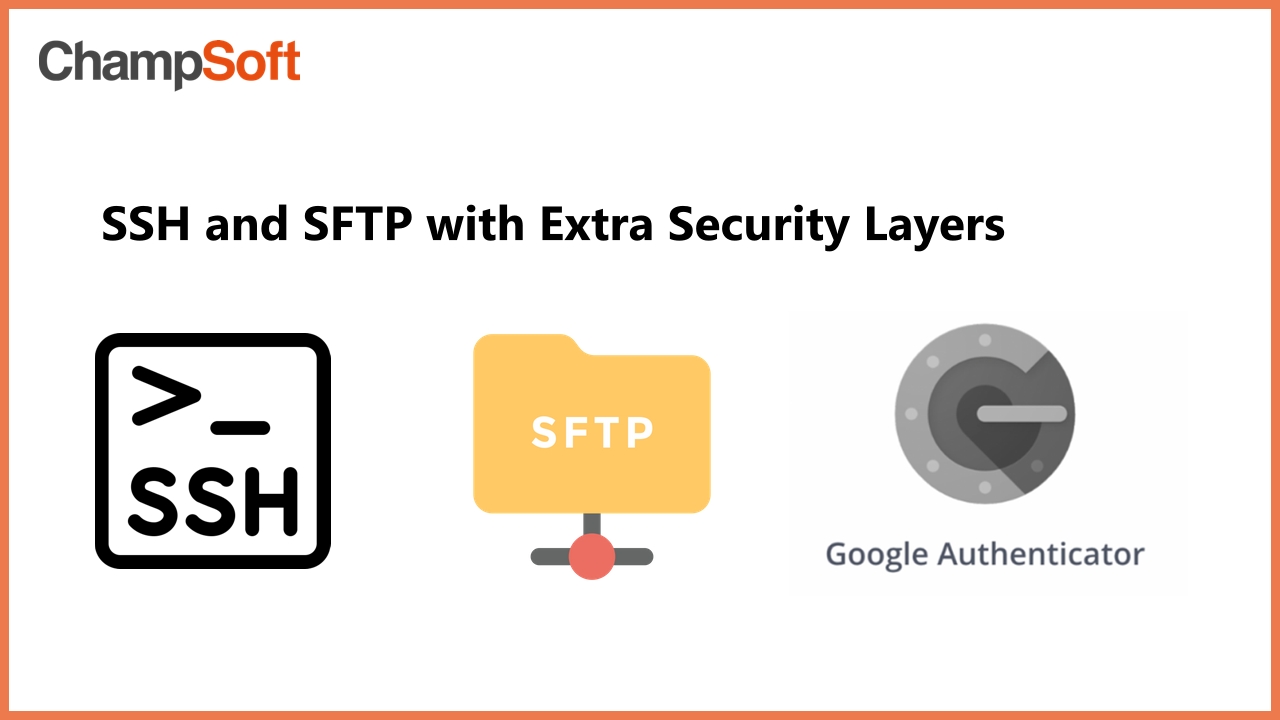
SFTP and SSH with Extra Security Layers
SSH File Transfer Protocol aka SFTP is a popular secure version of FTP working over the SSH protocols. This article is about creating an SFTP server within a Linux environment with extra layers of security with Two-Factor authentication and IP whitelisting bypassing Two-Factor authentication. This method, you could use with SSH as well to ensure you have Two-Factor authentication enabled for server logins.
I’m going to describe everything using Ubuntu. You could use any distro with these same configurations.
Package Installation
The first thing to do is to install the required packages. Use the following commands to install the google authenticator package.
$ sudo apt update
$ sudo apt upgrade
$ sudo apt install libpam-google-authenticator
Now open the sshd_config file with the following command.
$ sudo nano /etc/ssh/sshd_config
First, we need to enable Two-Factor authentication in the SSHD configurations. To do that,
Comment out the below line if it’s uncommented.
# PasswordAuthentication yes
And uncomment the below line and make it yes instead of no.
ChallengeResponseAuthentication yes
If the UsePAM is set to no or commented out, enable it as below.
UsePAM yes
SSH Configurations
Now we’re going to have a user group for SFTP users and keep SFTP group users accessing other services.
Create the user group with,
$ sudo groupadd sftpusers
At the end of the sshd_config file, you’ll find the following line,
Subsystem sftp /usr/lib/openssh/sftp-server
Change it to the below
Subsystem sftp internal-sftp
At the end of the file, put the following content.
Match Group sftpusers
    ForceCommand internal-sftp
    ChrootDirectory /var/sftp/%u
    PermitTunnel no
    AllowAgentForwarding no
    AllowTcpForwarding no
    X11Forwarding no
The above content is forcing SFTP users to use SFTP only and they will have a Chroot Directory of their own which makes the SFTP process more secure. You can have a shared chroot directory, but this way is more secure.
Now the SSHD configuration is finished so save the file and exit.
Whitelist IP Configurations
We’ll keep a list of IPs, Networks list who can access the server without Two-Factor authentication which helps in creating automated uploads, etc. where we can’t use Two-Factor authentication.
First, create the file access-local.conf to include all the whitelisted clients.
$ sudo nano /etc/security/access-local.conf
And put the following content in it.
# 2FA Disabled user : IPs

# Enable 2FA for all others
- : ALL : ALL
Save the file and exit. I will tell you how to add clients here when the users are being created.
Security Configurations with PAM
Now we need to enable Two-Factor authentication and IP whitelisting with the PAM configurations.
First, open the config file.
$ sudo nano /etc/pam.d/ssh
Put the following lines at the top of the file.
auth [success=1 default=ignore] pam_access.so accessfile=/etc/security/access-local.conf
auth required pam_google_authenticator.so
The first line will enable the IP whitelisting and the second one will enable Two-Factor authentication.
Now the configurations are finished. Save and exit.
Folder Structure
Now we need to create the folder structure to support the above configurations. Use the following commands to create the SFTP root.
$ sudo mkdir /var/sftp
$ sudo chown root:root /var/sftp
$ sudo chmod 755 /var/sftp
Now the initial configurations are over. Make sure your account is either whitelisted or Two-Factor configured before you do the next step. Otherwise, you’ll be locked out of the system.
$ sudo systemctl restart sshd
Creating Two-Factor Enabled SFTP User
Use the below method to create an SFTP user with Two-Factor enabled. Make sure you have the Google Authenticator app installed on your mobile device.
Create the user first and add a strong password.
$ sudo useradd -m <username> -g sftpusers
$ sudo passwd <username>
Create the folder structure for the above user.
$ sudo mkdir -p /var/sftp/<username>/files
$ sudo chown root:root /var/sftp/<username>
$ sudo chmod 755 /var/sftp/<username>
$ sudo chown <username>:sftpusers /var/sftp/<username>/files
$ sudo chmod 700 /var/sftp/<username>/files
The chroot directory should be owned by the root. That’s why we used another subdirectory inside the chroot directory to use as the SFTP folder.
Now log in as the new user with the following command.
$ su - <username>
Set up the Google Authenticator with the following command.
$ google-authenticator
Answer yes to the first question.
Do you want authentication tokens to be time-based (y/n) y
Scan the QR code with the Google Authenticator app and put the code here to continue.
Answer the next questions below.
Do you want me to update your "/home/username/.google_authenticator" file (y/n) y

Do you want to disallow multiple uses of the same authentication
token? This restricts you to one login about every 30s, but it increases
your chances to notice or even prevent man-in-the-middle attacks (y/n) y

By default, tokens are good for 30 seconds and in order to compensate for
possible time-skew between the client and the server, we allow an extra
token before and after the current time. If you experience problems with poor
time synchronization, you can increase the window from its default
size of 1:30min to about 4min. Do you want to do so (y/n) n

If the computer that you are logging into is not hardened against brute-force
login attempts, you can enable rate-limiting for the authentication module.
By default, this limits attackers to no more than 3 login attempts every 30s.
Do you want to enable rate-limiting (y/n) y
Now the google authenticator is set up. Exit from the user.
$ exit
Now try SSHing and SFTPing to the new user.
$ ssh <username>@<host>
$ sftp <username>@<host>
You should be able to SFTP to the new user with the authenticator code and password but ssh to the same user.
Creating IP Whitelisted SFTP User
If you follow this way, it will not use the Two-Factor authentication for the user. But you need to whitelist the IP of the client connecting to the SFTP server.
First, create the user as before.
$ sudo useradd -m <username> -g sftpusers
$ sudo passwd <username>
And create the folder structure as before.
$ sudo mkdir -p /var/sftp/<username>/files
$ sudo chown root:root /var/sftp/<username>
$ sudo chmod 755 /var/sftp/<username>
$ sudo chown <username>:sftpusers /var/sftp/<username>/files
$ sudo chmod 700 /var/sftp/<username>/files
Now open the whitelisted IP list.
$ sudo nano /etc/security/access-local.conf
And add the user and client details as below. You could allow a single IP as well as a network in here.
# 2FA Disabled user : IPs
+ : <username> : <IP or Network/Subnet or IPs>

# Enable 2FA for all others
- : ALL : ALL
Now save and exit.
You can still enable the Two-Factor authentication with the previous method and add the IPs to the whitelisted list so you can log in to the SFTP server from other places with the Google authenticator.
So that’s it
Now you have configured an SFTP server or an SSH server with Two-Factor authentication and whitelisted IPs. These extra layers of security will make sure your data are in compliance with the security requirements. If you have any suggestions or questions about this article, comment here.